
In short
An olla releases water through porous clay into nearby soil. Its useful reach depends on the pot and the surrounding soil, so a fixed number of plants per pot is rarely a reliable starting point. Test one before designing the whole bed.
An olla releases water through porous clay into nearby soil. Its useful reach depends on the pot and the surrounding soil, so a fixed number of plants per pot is rarely a reliable starting point. Test one before designing the whole bed.
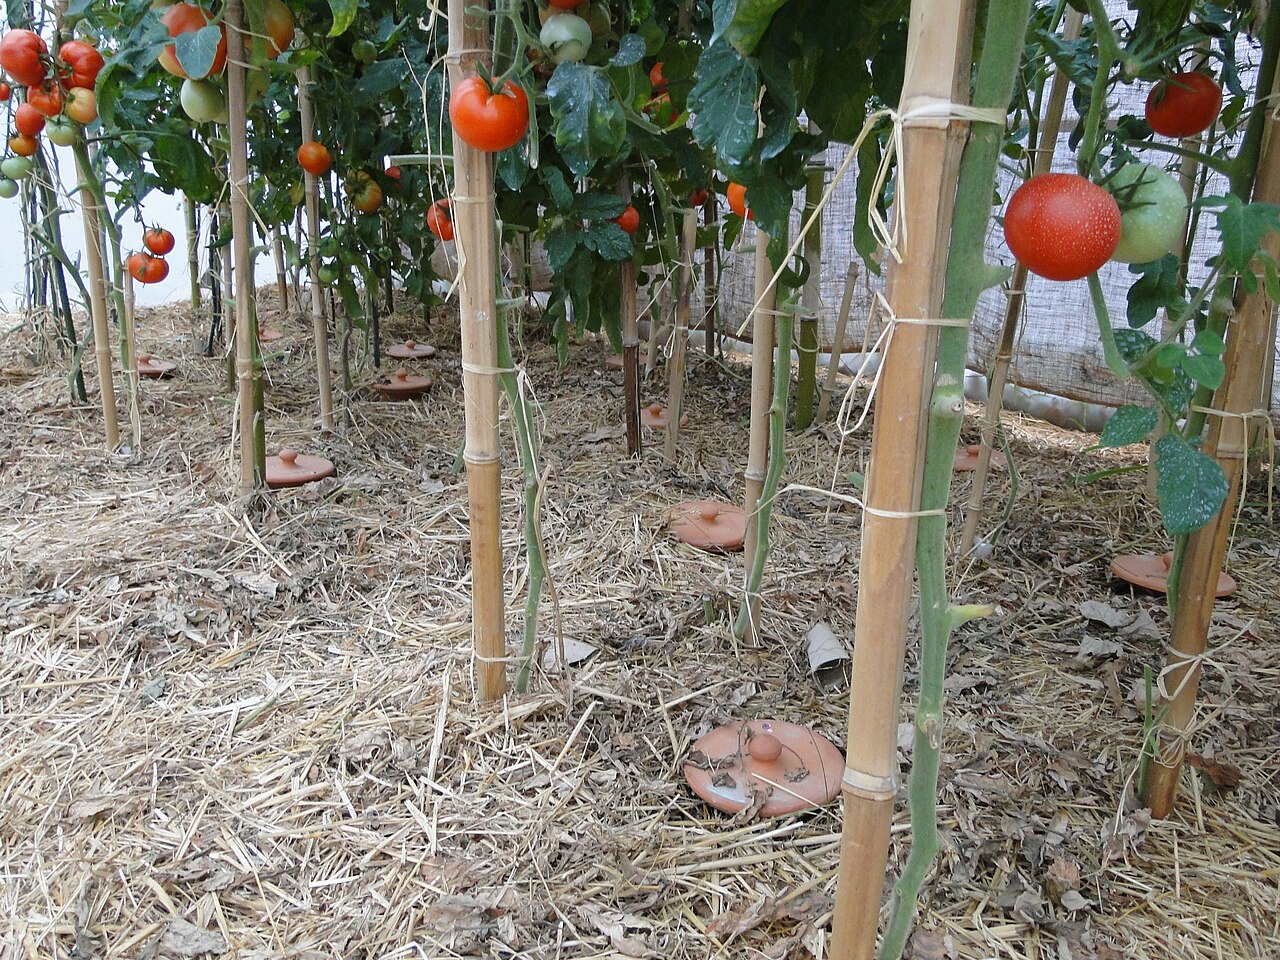

From the Namibian discussions
The Namibian collection shared an olla demonstration from Namibian Food Forest Homesteading. That makes it a useful local starting point. The next step is to measure how a pot behaves in your own soil rather than assume all clay pots have the same porosity.
Check the vessel
Use an appropriate unglazed irrigation pot with sound walls and a secure cover. A glazed or sealed decorative vessel may release little water. Inspect for cracks before burying it and arrange the neck so filling and inspection are easy. Keep the opening protected from debris and animals.
Observe the soil response
- Install one pot according to the maker’s guidance and fill it with a measured volume.
- Mark nearby positions at several distances.
- Check moisture carefully without damaging the pot or future roots.
- Record how quickly the level falls in different weather and whether moisture spreads where plants will grow.
Establish plants deliberately
New seedlings need accessible moisture while their roots are still small. Do not assume a nearby full pot guarantees the seedling’s root ball is wet. Give suitable establishment watering and then observe the transition. The NMSU planting-strategies resource includes olla irrigation as one option among several dryland approaches.
Keep a water record
Record litres added and the time between refills. Check for leaks or breakage if the rate changes suddenly. Compare with a small hand-watered bed using the same crop, soil and harvest period. Count maintenance and pot cost in NAD alongside water savings.
Namibian climate and microclimate
Sandy Namibian soils may wet differently from heavier garden soil. Wind and exposed leaves can increase plant demand even when the surface near the pot looks damp. Place the trial in the microclimate where you actually intend to grow.
Your first practical step
Install one olla and map its wetting pattern before arranging a permanent ring of plants around it.
Keep exploring
Sources and further reading
Have you tried this in Namibia? Share the site conditions, method and result—including what did not work—with the Living Earth community. Local observations help the next person adapt the idea.
Documents to read or download
Worthwhile videos
Made by others, mostly outside Namibia: watch for the idea, then adapt it to our dry climate.
Watch: Olla! Pots! — ABUSHTVDAY 11/07-2025
Publisher: Namibian Food Forest Homesteading
Country and context: Namibia, as identified by the publisher; precise site not independently confirmed.
A local practitioner demonstration. Measure wetting and refill intervals in your own soil rather than assuming the same reach.
This is a Namibian demonstration. Still compare pot construction, soil texture, plant size and exposure with your own site.
Keep exploring
Propagation
Propagation in an Organic Homestead SettingWhy Propagate Plants on an Organic Homestead?Methods of Propagation on an Organic HomesteadOrganic Propagation Practices for Be…
Raised Beds
Image from Joe Gardener (https://joegardener.com/podcast/raised-bed-gardening-pt-1/) Benefits of raised garden beds A raised garden bed is simply a garden bed with some b…
Banana clumps: plan water and replacement stems
A banana planting is a sequence of stems, not a permanent fruiting trunk. Water, healthy planting material and room for replacement growth determine whether it becomes a…
Biochar
biochar Biochar, a carbon-rich substance born from the depths of pyrolysis, is making waves in sustainable agriculture and environmental stewardship. This black…